|
Tutorial Overview for Glossy Writers
Tutorial Home
| Form
| Content
| Copy Edit
| Pictures
Articles with pictures will be published more readily (if they're good) than articles without.
- Click on "UPLOAD IMAGES"

- Click on "Browse" and find the pictures you were looking for.
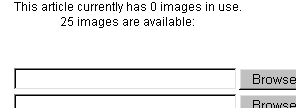
- Click OPEN to accept it.
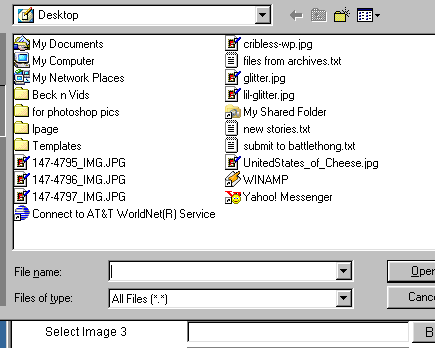
- Got more pictures? Repeat the procedure with IMAGE's 2, 3 and so on.
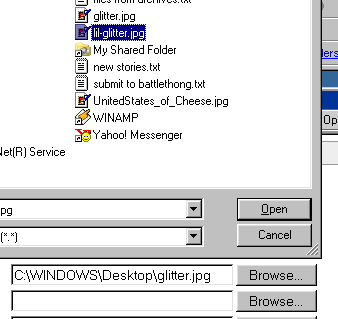
- When you're done uploading pictures, scroll down to the bottom of the upload page and hit SAVE... please, dear God, if you don't, it wasn't worth it and they will not be saved.
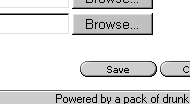
NOTE: If you're on dial up, it may take a minute or two to save. The lag is the time while the pictures are uploading to the site.
- The next page will show you the pictures you've uploaded and give you the option to remove them (which I don't imagine you want to do,) or put a caption on them, which you may.
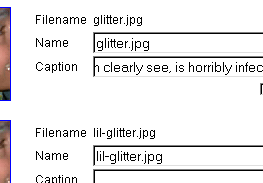
- Go to the bottom of the captions page and HIT SAVE. Again, this is an important step, that's why I went ahead and used bold.
- At this point a lot of times it feels right to go into the PREVIEW WITHOUT PUBLISHING screen and see them. If you did all that and there's still no pictures, that's because you didn't tell the article where to put them. It can't guess and we don't want it to. Once you clicked save on the caption page, it will take you back to the article page. At the bottom, it should list your pictures.
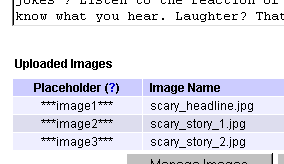
- Go back into the article and insert the images wherever you want them. For example, the little picture that goes into the summary on the front page should look like this; ***image1:right***

- Be careful how big the pictures are. Itty bitty ones go on the front page, modest sized ones within the articles.
- Do the same thing for the pictures in the article. These can be aligned left right or center to your liking. "***image3:right***", "***image3:left***", "***image3:center***", and if you forget, there's always the question mark you can click on to remind you. (This also opens in a popup, so be aware.)

- If you want to change the captions or delete a picture, use "MANAGE IMAGES". Again, be sure to hit save at the bottom of the page when you're done, or it ain't gonna.

- Now go back into Preview Without Publishing. Once you have your picture markers in there, it should look just fine. Sometimes, when using more than one picture in the article, it's necessary to go back in a few times and juggle them around for placement.
|